Showing posts with label whole foods. Show all posts

Sunday, December 30, 2012

Smelling Sourdough in the Morning


Last week Monday Mark and I ate delicious sourdough English muffins for breakfast. Mmmmmm. I started a sourdough starter last Sunday afternoon. I had wanted to for a while, but I’d been afraid that I’d mix up the flour and water and nothing would happen. But, happily, after a day or two of mixing and adding flour and water, I began to see bubbles, and now within twelve hours the little yeasty creepy-crawlies have had time to gorge themselves on the simple sugars found in the wheat and the starter has nearly doubled in size.

I’m really very excited. ‘Victorious’ is a good word to describe how I feel about the fermentation I’ve created.

From what I’ve read, a sourdough starter should be allowed to mature for a week before you use it in a recipe. Sunday was my starter’s one week birthday, so I decided to celebrate by trying this sourdough English muffin recipe.

The funny thing about using a sourdough starter that I’m not really used to is that when you want to make, say, English muffins, you have to think about it at least a day ahead of time. You need to allow time to build up your starter, by adding a little more flour and water, because you don’t want to entirely use up your starter in the baked good you make, or you’ll have to grow your starter all over again. And when you have properly built up your starter and then pulled out what you need for your muffins, you mix up your dough and then let it set, usually overnight, to allow the dough to ‘sour’ all the way through. Then, in the morning, you can form your dough into muffins and fry on the griddle.

Sourdough English muffins on the griddle.
Again, sourdough English muffins on the griddle.

Then, this is the tricky part for me, if that baked good will satisfy your family for a few days, what do you do with your starter in the meantime? If you leave it out on your counter, the yeast will continue to multiply and you’ll need to keep feeding it and making it bigger. But you don’t necessarily want a bigger starter unless you’re doing lots of baking. So, the obvious way to slow the yeasties down is to put the starter in the fridge. But I just don’t trust my starter yet. Probably an unfounded worry, but I’m afraid that if I stick my starter in the fridge it will just die. And then I will be sad, wistfully thinking about all of the delicious sourdough baked goods I could have made if I had just kept my starter alive on the counter.

Thankfully, I don’t have to address this irrational fear yet because I am planning to do some extensive baking in the next week. So instead of putting my starter away in the fridge, I’m letting it grow on the counter. See? It already needs two containers:

Starter has just been stirred.
See the bubbles! Starter is happily feeding!
See the bubbles CLOSER.

Sourdough bread, here we come!

Update: Since beginning this post, we have made sourdough bread. And I have worked up the courage to put my starter in the fridge. What I've noticed is that leaving my starter in the fridge for a week without feeding it makes it give whatever baked good I put it into a more sour flavor. (There's a scientific reason behind this, but I don't want to go into it now.) If I fed my starter and then used it immediately upon seeing bubbles throughout, the baked good would rise but it wouldn't taste much like sourdough, just like regular ol' bread. The bread pictured below had a delightfully sourdough flavor.

Happy happy loaf of sourdough bread.


Mark being artsy with the camera and making you all crave sourdough.

Monday, January 16, 2012

Greek Yogurt: Part 2

It is yogurt!

I was admirably disciplined during the eight hours that the warm bacteria-laden milk sat in the crock pot. I didn’t check on it once.

But at about 8:30, I hesitantly unwrapped the home-made incubator.

This is what I saw:


No longer milk!

My brother was at our house at the time, playing a game with Husband and me.

“It worked!” I squealed. “I have yogurt!” I glanced from the crock pot to my husband and brother and back again, expecting them to jump up with gasps of amazement at my superior ability to nurture the growth of bacteria, but neither one moved.

Husband looked up from his cards long enough to say, “Oh, good!”

Ah, well. I think Husband was excited; he was just more excited about his game, and he had put less energy into making the yogurt happen. My brother was not excited: Plain yogurt? Eeew. Gross.

Because my bacteria colony festered and multiplied the way it was supposed to, I was able to move onto the next step. If I had wanted plain yogurt, I would have been done at this point. But because I wanted Greek plain yogurt (which is thicker and creamier), I still had one more step to take.

I lined a colander with a cloth napkin (the directions call for a linen towel), and emptied the crock pot contents into the towel:


This was supposed to allow the yogurt to drain off more of the whey. Just to make sure the directions weren’t leading me false, I picked up the colander (over the sink), to see underneath it, and lo and behold, clear-ish whey was dripping from beneath the colander.

I let it sit that way overnight, and early the next morning, I took a spatula and scooped the remaining yogurt into a container. This is what my finished product looked like:


I probably could have let more whey drain off, and maybe for the next batch I will, but even this tastes creamy, full-fat, and delicious.

Other than some worrying, and one dream during the night about teaching our ESL class to make yogurt, this process really took very little physical or mental energy on my part. In fact, making yogurt made me feel resourceful, frugal, and fond of bacteria.

Sunday, January 15, 2012

Sugar Detox and Greek Yogurt Part 1

Stumbling Through the Sugar Detox

Today Husband and I are starting up the third week of our sugar detox. (If you would like to try a sugar detox yourself, you find the one that we are following on this website.) During the first week, we cut out all high fructose corn syrup, and during the second week we cut out all refined grains. We did allow ourselves some liberties with the detox, however.

For example, even though the garlic cheese biscuits that I made last Friday were made with white flour, when we started Week 2 of the detox, we allowed ourselves to finish them off, rather than throw them away (though I will not be making any more baked goods with white flour for the duration of our detox).

And as another example, we were invited to a dinner party on Wednesday night. Though the dessert served appeared to have been made with white flour, we ate it anyway: a special occasion, and no desire on our parts to be rude.

And a final example: a co-worker of mine gifted Husband and me with a pan of absolutely divine cinnamon rolls. We ate them—all of them—in about 36 hours.

So far the sugar detox hasn’t been too difficult for us. I’m pretty proud to admit that Husband and I do not have much in the house that has high fructose corn syrup in it. The list is about 25 food items, but frankly, in our corn-based foods society, I was expecting to find a lot more. Eating only whole grains has presented a larger challenge for us, especially in the way of breakfast cereal.

We love breakfast cereal. My favorite is probably a toss-up between Cracklin’ Oat Bran and Cinnamon Toast Crunch. Oooh, my mouth waters just typing the names. Mmm.

Anyway, not many breakfast cereals are made with neither corn syrup nor refined grains, and because Husband and I eat cold cereal for breakfast pretty much every day, we are having to branch out, put forth a little more effort to procure healthy alternatives for breakfast.

So, I made granola today. I love granola, and I have made it before. This is my absolutely favorite recipe:

Maple-Almond Granola with Dried Berries

Yield: 8 c.

5 c. old-fashioned oats
2 c. slivered almonds
2 t. ground cinnamon
½ c. canola oil
½ c. pure maple syrup (though I often use honey because it’s cheaper)
½ c. hot water
1 T. vanilla
2 t. almond extract
½ t. salt
1 ¼ c. dried cranberries or blueberries

Preheat oven to 350 degrees. Toss oats, almonds, and cinnamon in large bowl. Whisk oil, maple syrup, hot water, extracts, and sea salt in a medium bowl. Drizzle over dry ingredients; toss to coat. Divide mixture between two baking sheets. Bake for 20 minutes. Stir. Bake until golden, another 20 minutes, or so. Move baking sheets to racks to cool. Sprinkle fruit over the granola and allow to cool completely.


See? Yum.


Greek Yogurt—to be or not to be?

With a great degree of trepidation, I have also begun a new project today: Greek yogurt. Greek yogurt is all the rage right now as a ‘health food,’ yet it is outrageously expensive in the grocery store. I had never actually had Greek yogurt before, and I’m not quite sure what possessed me to try to make it myself. The only reason I can think of is that I have noticed a particular urge in myself, in the last few weeks, to create, so when I saw a recipe online for Greek yogurt, I was drawn to it. I’m also considering trying to begin a sourdough starter at home. Sourdough bread. Mmmm.

I did have to purchase a small amount of Greek yogurt for the purpose of using its live culture. My husband did the shopping, and he came home with enough Greek yogurt that we could try some too. We tried it last night with supper, and I was surprised when I dug the serving spoon into it to see how thick it was. I plopped a blob of the thick white stuff down on my plate and took a tentative bite.

Love at first taste. I should have expected that. Any dairy product that is full-fat generally has my stamp of approval. But I did not expect to enjoy the firmness and creaminess of Greek yogurt quite so much.

Suddenly, my desire to make my own Greek yogurt at home was more than a passing fancy. If I can figure out how to make it at home, I can eat it regularly. If not, well, then Greek yogurt will merely be the occasional expensive treat.

So, at around noon today, I began to heat my whole milk:


I needed to heat it to 180 degrees. I monitored it’s heating up with this thermometer:


Never mind that it’s in a glass of half ice and half water and still says 40 degrees. It really was accurate. This picture must have been taken immediately after re-submerging the thermometer in the water.

When the milk got up to 180 degrees, I took it off the heat and let it sit until the temperature was only about 120 degrees. Then I mixed a half cup of the milk with a half cup of Greek yogurt (purchased for its live culture), added that mix back into the milk, and transferred the milk and yogurt to a pre-warmed crock pot:


The crock pot is not plugged in, and is actually never plugged in throughout the making of the yogurt.

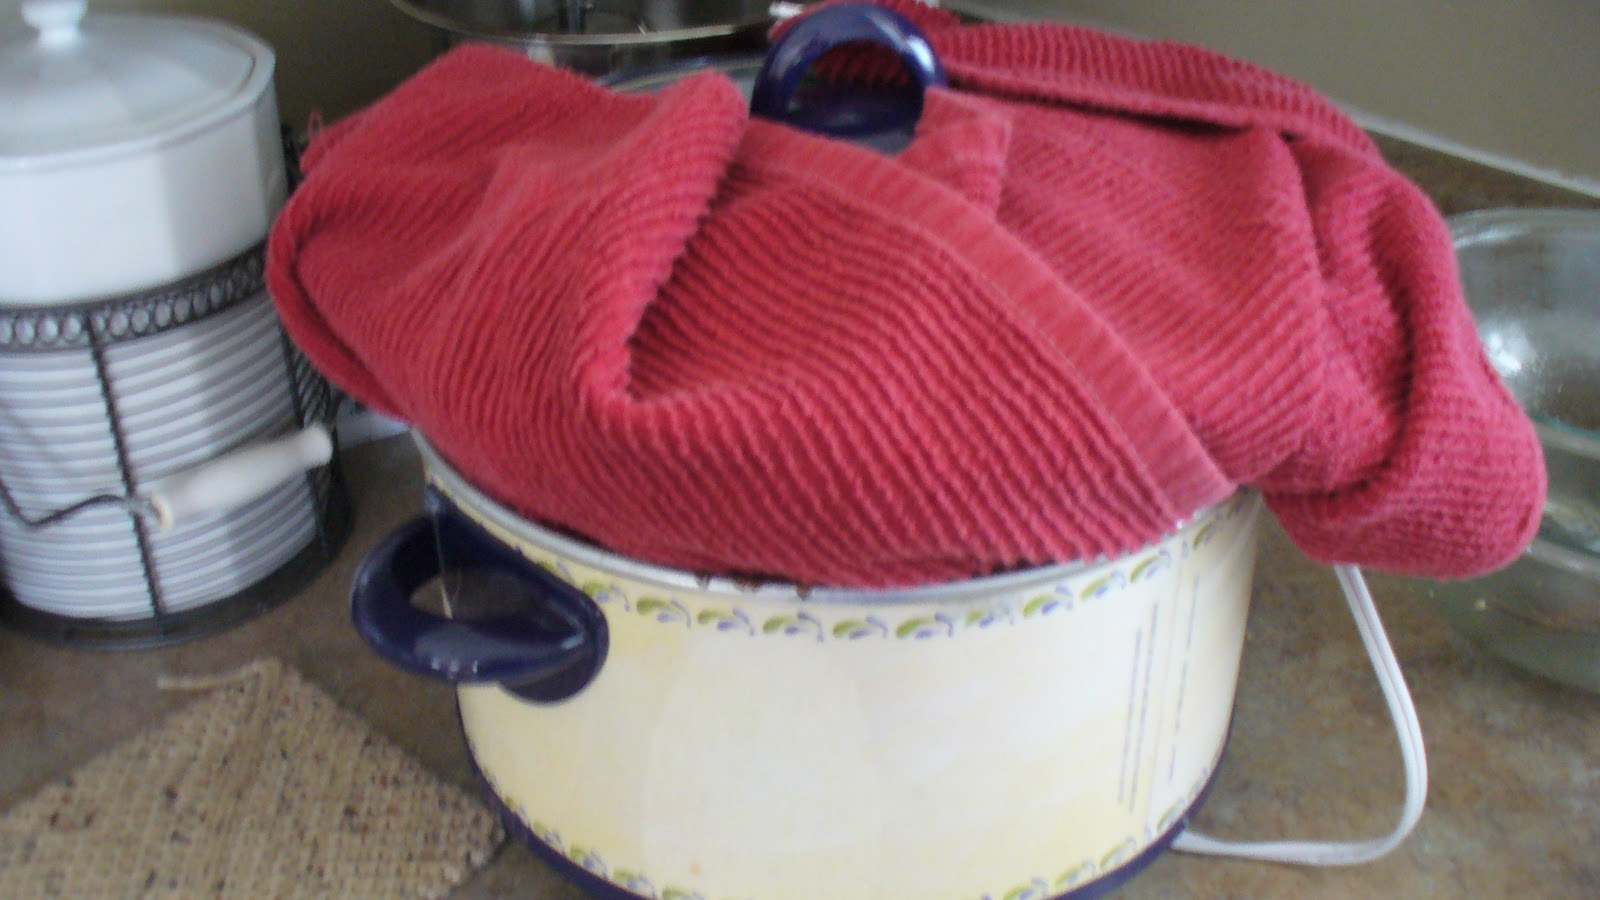
I then wrapped the crock pot up really well:


Now it will sit until about 8:00 tonight, at which point I will set it to drain off the whey in a colander lined with a linen cloth, and we will see whether I have created yogurt or sour-tasting milk.

Stop by tomorrow to see!

Friday, October 28, 2011

Pumpkin Macaroni and Cheese

“Be thankful for the little things,” is, of course, very good advice.

One of the little things for which I am thankful for today is our oven. It’s not a very pretty oven at the moment, not very clean, but it has this wonderful feature: a ‘timed bake’ setting. I can put a dish in my oven, set the oven to turn on at a certain time, on a certain temperature, and stop baking at a certain time.

Probably many people have ovens like this, but my family never had one while I was growing up, so I am still relishing the novelty of coming home from work to a casserole bubbling in the oven.

In theory, that is how the ‘timed bake’ setting works, but because I had been distracted this morning, I remembered to set the timer on the oven, but forgot to switch it from ‘off’ to ‘timed bake.’ So, when I got home from work, the oven was ‘off’ and my macaroni and cheese was stone cold.

That was OK, though, because Thursday nights are usually my non-busy nights. And I was so excited about what was in the oven that nothing could puncture my buoyancy.

You see, I was not just eating macaroni and cheese tonight; I was going to be eating Pumpkin Macaroni and Cheese. Because it is fall. And one of the best ways to celebrate fall is with pumpkin. (Even if the pumpkin puree used is actually part of last year’s pumpkin that has been sitting in the freezer for a year.) Due to the unusual mix of ingredients, I was eager to see how it would turn out.

It turned out delicious.


See?

I could hardly taste the pumpkin at all in this dish. I can’t decide if that made me happy or sad, but either way, this dish opened up in my mind all kinds of doors for sneaking pureed vegetables into casseroles, especially for picky eaters like my brother and my dad. Why not pureed broccoli? Or pureed cooked spinach?

I now enjoy delightful fantasies of inviting my picky-eating brother and dad over for dinner sometime. Unbeknown to them, as they make polite conversation and compliment our culinary achievements, they will be ingesting all manner of fiber, vitamins, and minerals that their bodies don’t normally get!

I am so excited.

Anyway, I would like to share the recipe with you. I pulled it out of the Better Homes and Gardens October magazine:

Pumpkin Mac and Cheese

2 c. dried elbow macaroni
2 T. butter
2 T. all-uprpose flour
1 c. whipping cream*
1 c. whole milk*
4 oz. Fontina cheese, shredded (1 cup)*
1 15-oz. can pumpkin
1 T. snipped fresh sage or ½ t. dried leaf sage, crushed
½ c. soft bread crumbs
½ c. grated Parmesan cheese
1/3 c. chopped walnuts
1 T. olive oil

1. Preheat oven to 350 degrees. Cook pasta in a large pot following package directions; drain. Return to pot.

2. In medium saucepan melt butter over medium heat. Stir in flour, ½ t. salt, and ½ t. black pepper. Add cream and milk all at once. Cook and stir over medium heat until slightly thickened and bubbly. Stir in Fontina, pumpkin, and sage until cheese is melted. Stir sauce into pasta. Transfer to ungreased 2-quart rectangular baking dish.

3. In bowl, combine bread crumbs, Parmesan, nuts, and oil; sprinkle over pasta. Bake, uncovered, 30 minutes or until bubbly and top is golden. Let stand 10 minutes before serving. Garnish with sage.

*We did use the whipping cream and whole milk this time, but next time we’re going to try it with a less heavy option (probably our standard 1% milk, maybe some half and half.) We did not use the Fontina cheese because it’s kind of expensive. We used some shredded Colby-jack and shredded parmesan.


Saturday, October 8, 2011

Some Haikus to Describe My Feelings Towards Fall

Please excuse these haikus. I am by no means a poet, and these haikus may fail sadly at doing what poems are supposed to do: convey feelings from the writer to the reader. But here you are, anyway:

Crisp leaves skittering
Behind cars along the road:
A cherished fall noise.

Days growing shorter,
Leaves change color and fall fast.
Where did the yard go?

Children make a graph:
Red, yellow, or green apples?
Learning to love fruit.

Put on long-sleeved shirt
Take off, put back on again,
In-between weather.

This tree (pictured below) is in the lawn in front of our house. In the past week it has gone from green to brilliant yellow and dropped at least half of its leaves on our lawn. I mourn the quick loss of leaves not only because it means we have to make time to rake them up but also because I enjoy seeing the tree such a cheery color. I wish it would savor its fall colors like I do instead of getting rid of them so fast. Please, tree, show some consideration.


This is an apple oatmeal bake that Handsome and Wonderful Husband made for me a few mornings ago. He oh-so-wisely put the dish in the oven the night before and set the timer on the oven to bake so that it would be done about when he was finishing with his shower. 


We don’t normally do this kind of thing for breakfast because I don’t think of it. But when we do it makes me soooooo happy. When Husband’s parents came last weekend, they brought with them bags of apples (and when I say ‘bags,’ I don’t mean little-brown-lunch-bag bags, I mean, ready-to-grocery-shop-for-the-whole-family bags), which has incited us to an apple-cooking frenzy.

This apple oatmeal bake was a product of that frenzy, and I am so thankful to Husband’s Wonderful Parents.